How to make a real estate listing video from photos
Follow a photo-to-video workflow from a prepared photo set to a reviewed export. Start in the listing workspace, keep control of the selected content and check the finished video before you share it.
By Infinite Creator
Published
Before you start
A useful listing video starts with a clear set of photographs. Choose views that explain the property, arrange them in a sequence a viewer can follow, then inspect the generated video against those source images.
This guide follows the listing-video workflow in Infinite Creator. You will use the listing workspace, prepare the photos and requested content, review the available settings, and download a completed result. Available actions and usage depend on your workspace's access and current plan.
Worked example: two photos to a reviewed export
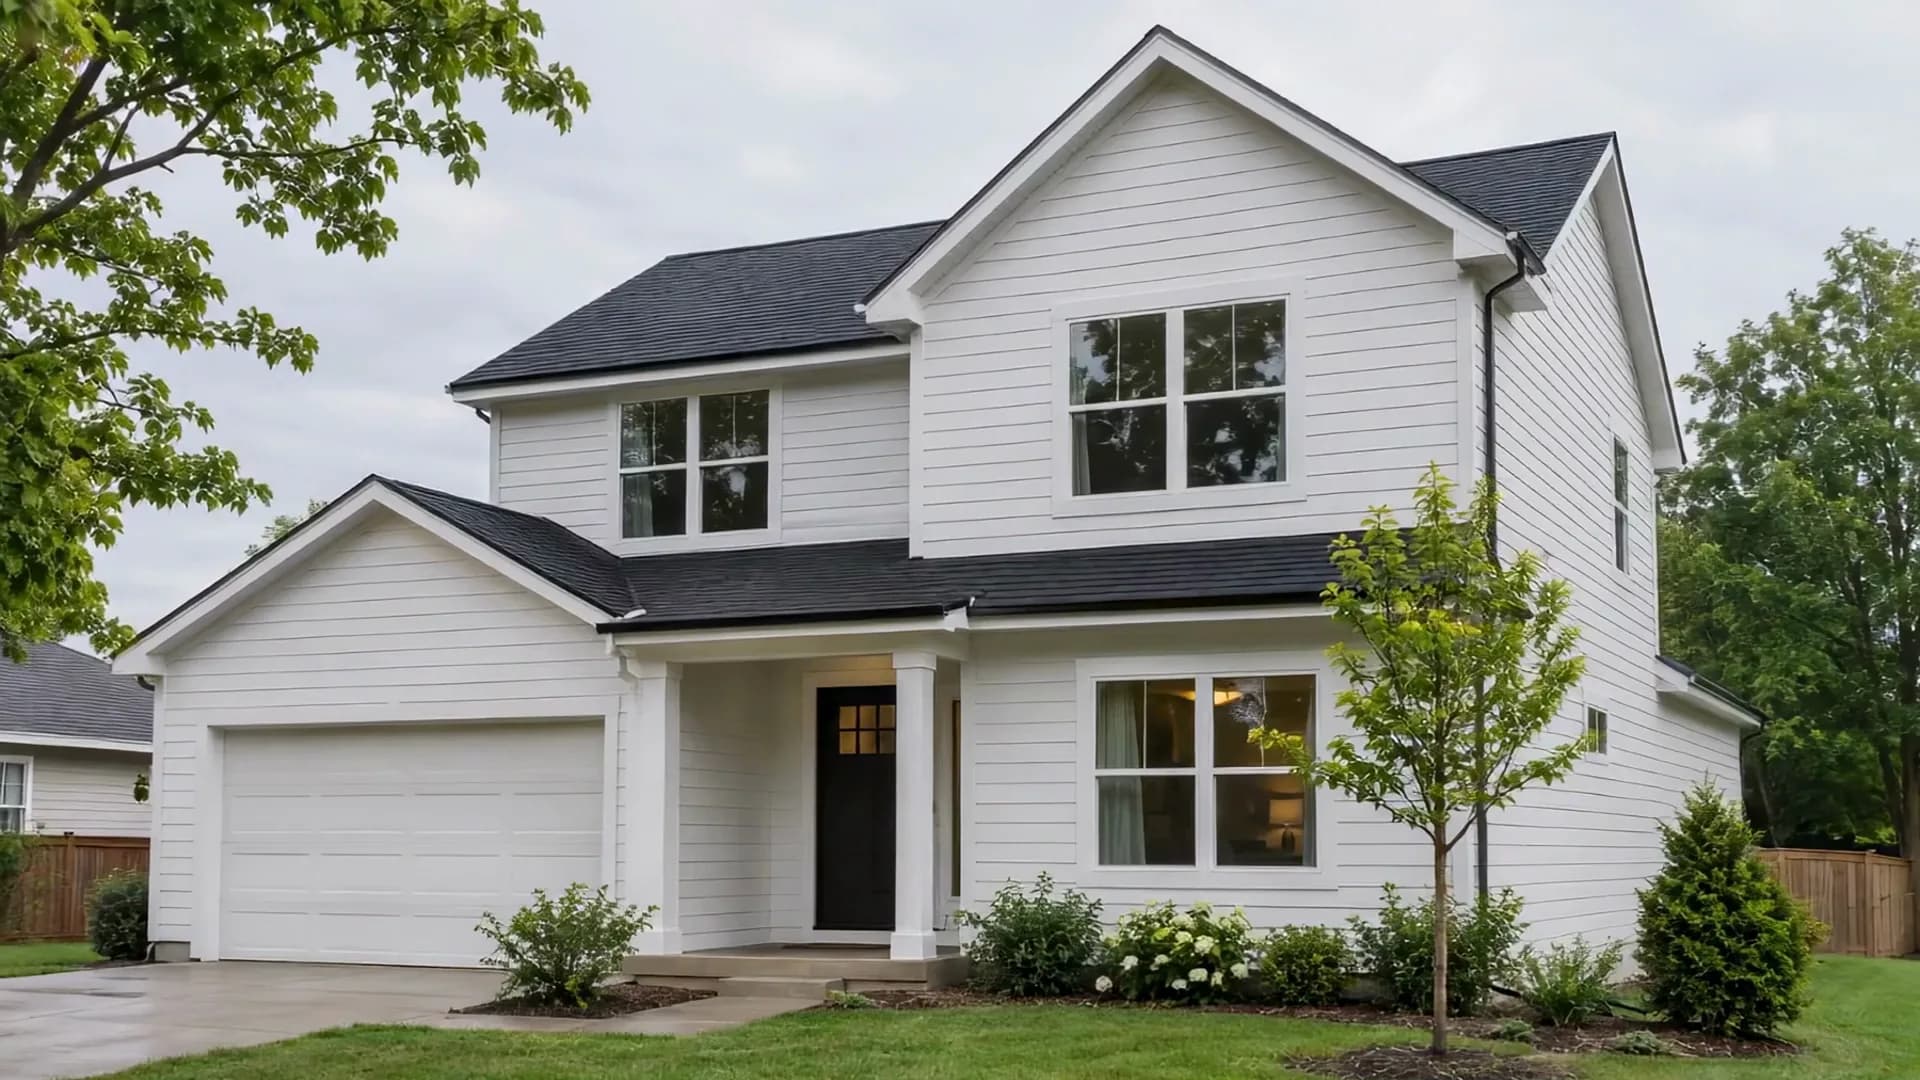
For this demonstration, we used two AI-generated images of a fictional property: a white-house exterior followed by an empty room. Neither depicts a real listing. We uploaded both images, checked that the uploads had finished and confirmed that order before continuing.
In the content selection, we kept the AI listing video and cleared the other requested materials. In the verified workspace, we selected Pro Default at 1080p and submitted the creation request once. The settings and usage available in another workspace can differ.
The completed MLS-format export runs for 4.6 seconds: the exterior view, the empty room, then a fade to black. We watched it through to the end, compared it with both sources, downloaded that selected output and opened the saved MP4 to verify playback. The video example on the companion tool page omits the soundtrack while preserving the generated picture sequence.
This small example demonstrates the input-to-export steps. It does not establish a typical video length, a generation-time promise or the suitability of an output for a real listing. Use your own property photo set and review every view before delivery.
Prepare a photo set
Use photographs you have permission to edit and publish. Choose images from the same property and remove duplicates. Include the views needed to understand the home: an exterior, the main living space, the kitchen and the rooms or features relevant to the listing.
Inspect the sources before uploading. Check focus, exposure and visible architectural detail, and use the file formats and limits shown in the uploader. A generated video still needs a usable source photograph for each view.
Keep the originals in a separate folder so you can compare the output with the source set later.
Open the listing workspace
Open Listings in your Infinite Creator workspace. Choose the listing you want to work on or start a new project and follow the property setup steps.
When the workspace offers a content-type choice, select the photo-to-video workflow. The screens available to you can vary with your organization's settings. Complete any required account setup before continuing.
For a listing that already has photos, use its AI video creation action when available. Access checks still apply to an existing listing.
Upload and arrange the photos
Add the photo set and wait for uploads to finish. Inspect the thumbnails and arrange the images in the sequence you want to use.
Start with a view that establishes the property, then move through the spaces in a deliberate order. Remove a repeated image when it adds no useful information. After changing the order, wait for the interface to finish saving before continuing.
If an upload fails or the new order cannot be saved, resolve the visible error before moving to the next step.
Select the video and review its settings
Choose the video content you want to create. Review any additional selected materials and clear the ones you do not need for this task.
Work through the video settings shown for your workspace. If music or branding steps are enabled, inspect those choices as part of the final review. Confirm the source photos, selected content and available usage before submitting the creation request.
Generation and download are checked separately. If the interface shows a plan or usage limit, review the available access before continuing. The current eligible offers are on the pricing page.
Inspect the completed result
Wait until processing has completed, then open the result in the listing workspace. Watch the entire video, including its first and last frames.
Compare each view with the source photograph. Check the architecture, room details, text, branding and sequence. Look for visual changes or artifacts that would make the result unsuitable for this property.
If the output needs changes, keep it for review and use the available editing or creation controls as appropriate. Review any usage requirements before starting another generation. Do not treat a queued or failed job as a finished video.
Download the selected output
Choose the completed output you intend to deliver and use its download action when available. Save the file locally and open the saved copy to confirm it is the version you reviewed.
Check the whole exported file, including playback, framing, text and any audio. Keep the source set and the reviewed export together so you can identify which output belongs to the listing.
Review your intended publishing destination's requirements before posting the file. Downloading a video does not itself send it to an agent or publish a property page.