For real estate photographers
Edit real estate photos in Infinite Creator
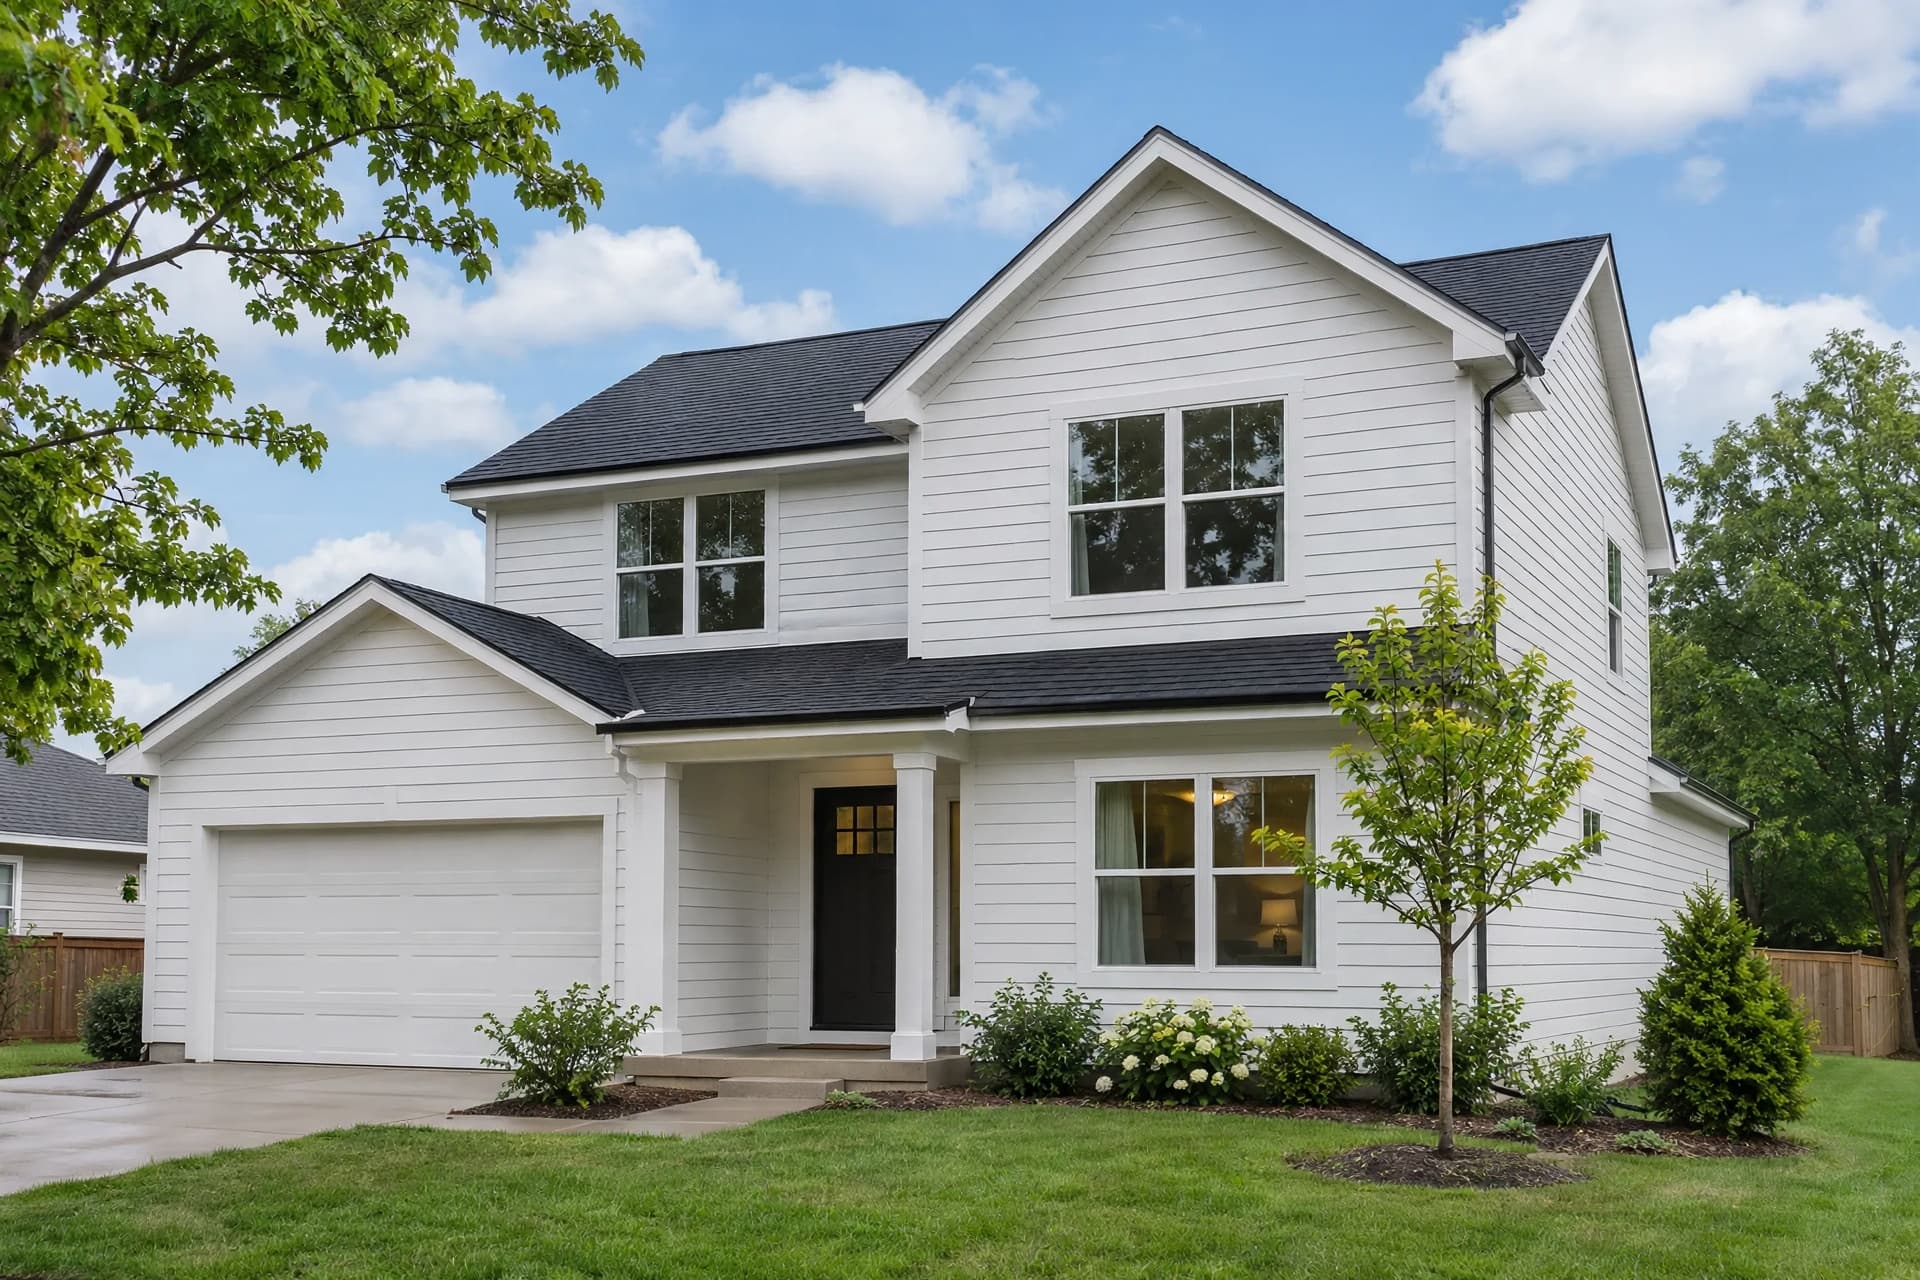
Start with a property photo you captured. Replace an overcast sky or create a twilight version, then review the edit before you deliver it.
Open Image Editor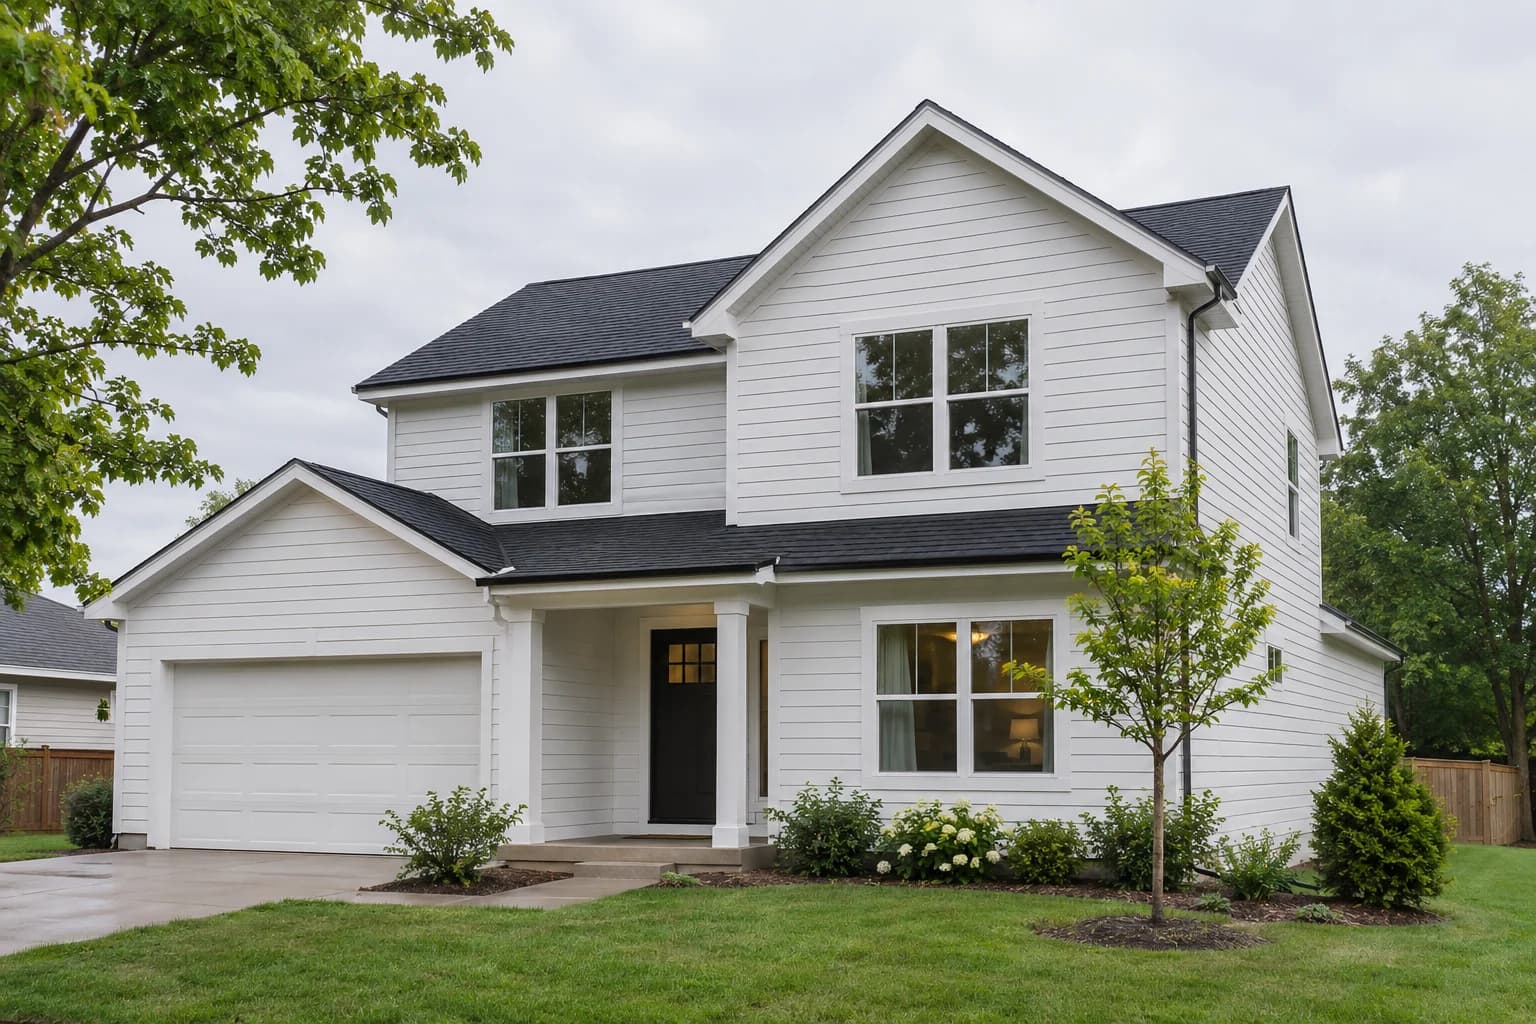
How it works
Upload your photo
Open Image Editor and choose a JPG, PNG, or WebP photo you have permission to edit. Start with one image.
Choose the edit
Use Sky Replacement for a different sky or Twilight for an evening version. Apply the edit and wait for the new version.
Review before delivery
Compare the result with your original, especially rooflines, windows, trees, and lighting. Download the version you want to deliver.
What you can do
- Replace the sky in a supplied property photo.
- Create a virtual twilight version of an exterior photo.
- Reopen an edit session and review its saved versions.
What to know
- Image Editor requires an eligible organization with an active subscription. Check current plans and enrollment on the pricing page.
- Upload one JPG, PNG, or WebP image at a time. Export RAW files to a supported format first.
- AI edits can change details. Check property features and follow your client's delivery and disclosure requirements.
Common questions
- Do I need to create a listing first?
- No. The standalone Image Editor lets you upload a photo independently of a listing and return to its edit session later.
- Can I upload RAW files?
- Export your RAW photo as a JPG, PNG, or WebP before uploading. Use your usual RAW workflow to prepare the source image.
- How do I access the editor?
- Sign in or create an Infinite Creator account, complete setup, and use an eligible organization with an active subscription. Your current plan and the available enrollment options determine access.
- Should I check the image before sending it to a client?
- Yes. Compare the edited image with your source and check architecture, landscaping, and lighting. Review any disclosure requirements with your client before delivery.